
Compression can be confusing for producers at any experience level, but it is also one of the most important tools in modern music production. Many beginner producers hear that they should be using compression, but aren’t always sure why or when to apply it.
More experienced producers may understand what each parameter does, yet still struggle to identify when compression is needed, how aggressively it should be applied, or which settings work best in different situations.
Regardless of the genre you’re working in, compression is crucial when it comes to shaping the dynamics and tone of your music, as well as controlling peaks and avoiding distortion during the mixdown and mastering stages. In this article, we’ll explore the fundamentals of compression and how different compressor types influence the sound of a mix.
Audio compression is a processing technique used by audio engineers and producers to control the dynamic range of a sound source such as vocals or instruments. Put simply, a compressor reduces the level of the loudest parts of a signal, allowing the quieter parts to become more audible. This reduces the dynamic range, the difference between the loudest and softest parts of a signal, making the overall sound more controlled and consistent. As a result, the elements of a mix sit together more evenly and can avoid issues like clipping, distortion, or sudden volume spikes.

Here’s another way to think about it: Imagine you turn a song on and the beginning of the song is too quiet, so you turn the volume knob up. Then the main section of the song starts, and the levels increase, causing you to reach for the volume knob to turn it down. Then the bridge comes in, the song gets quiet, and you have to turn it back up again.
It would be much easier if there were an automated tool that could manage those level changes for you, and that’s exactly what a compressor does.
It’s also important to note that not all compressors are the same, and different types of compressors can impart their own character to the signal.
The 4 most common types of compressors you’ll come across are VCA, FET, Optical, and Variable-MU. Each type has its own sonic character and typical use cases. For beginners, it’s much more important to understand the various aspects and standard parameters of compressors, but once you understand the basics each of these different compressor styles is worth a deep dive.
Basic Compressor Parameters
Threshold – This is the level at which compression starts. If the threshold is set to –12 dB, any signal that exceeds –12 dB will trigger compression. Where you set your threshold is highly dependent on your goals and the type of audio you’re applying compression to, but a good starting point is to set the threshold so that it catches only the loudest peaks of the signal and then adjusting from there.
Ratio – The ratio is the amount of compression you’re applying to the signal. A ratio of 4:1 means that for every 4 dB the signal exceeds the threshold, only 1 dB will pass through the compressor. So at a 4:1 ratio, if the signal goes past the threshold by 12db then it will be compressed down to 3db.

Makeup – Makeup gain compensates for the volume reduction caused by compression. If you apply compression and squish down the peaks of the sound by 8db, for example, you can add that 8db back in by increasing the makeup gain by 8db. This results in an audio signal where the peaks are the same level as they were before compression, but the quieter, uncompressed parts of the signal have been increased by 8db, meaning that the dynamic range between the peaks and quieter parts of the signal has been decreased.

Attack – This is the time it takes for the compression to fully take effect after the threshold level is passed. A longer attack time will result in more of the transients or attack of the signal to pass through before being compressed, and a shorter attack time will control the signal more aggressively, resulting in a less dynamic, more squished sound.
Release – Release is the time it takes for the compressor to stop compressing once the signal falls back below the threshold.

Knee – The knee determines how gradually compression begins as the signal approaches the threshold.. A softer knee spreads out the point at which the compression takes effect over a range, resulting in more gradual compression and often a less obvious effect. A hard knee means that the compression will immediately take effect at the threshold level.

Example of a compressor with a soft knee

Example of a compressor with a hard knee.
Feeling Overwhelmed?
Learning to produce music can feel like a never-ending mountain of information to learn. If you find yourself feeling stressed or overwhelmed, having a good mentor to walk you through everything can take a lot of that weight off your shoulders. Book a free Discovery Call to get started.
Peak vs RMS vs Expand – Ableton’s Compressor has three settings that change how the compressor functions.
Peak mode responds very quickly to short spikes in volume and reacts primarily to instantaneous peaks in the signal. This mode works well when you’re dealing with a very dynamic signal that needs a lot of control and limiting to ensure that the peaks are compressed.
RMS (Root Mean Square) mode responds to the average level of the signal over time, resulting in smoother and more musical compression. This mode is great for more subtle control and is generally considered to be more musical.
Expand allows you to increase the level for incoming audio that passes the threshold. The ratio is flipped in this mode compared to standard compression, and is expressed as 1:2, which means that for every 1db the audio passes above the threshold it’ll be increased to 2db.

Volume Compression
One of the first things you’ll likely want to do when recording a vocalist is apply some compression to each of the individual tracks that you’re recording.
Vocals almost always benefit from compression, as a vocal track is very dynamic, containing a lot of variation in volume levels. The vocalist might sing more quietly at times, and louder at others. Without compressors we’d have to manually adjust the levels, and if there’s a lot of variation this can be a tedious and time consuming process to do by hand.
Using multiple compressors in series (one after another) often produces more natural results than relying on a single compressor. Usually when compressing vocals I like to lead with a Peak compressor that is set to just catch any occasional spikes in signal. Typically I set this one to be fairly aggressive, with a higher ratio, but I make sure that the threshold isn’t digging into the signal too much, setting it just so that the main peaks of the signal are triggering compression.
This Peak compressor preps the signal for the next compressor in the processing chain, which I usually set to RMS mode. Since the Peak compressor has already done the job of controlling the major peaks in the signal, the RMS compressor can be used to just apply gentle control over the vocal signal.
Compression on Drums
Drum bus compression can help glue drum elements together and maintain consistent impact in a mix. However, incorrect settings can easily remove punch and energy from your drums.
Slow attack time – For drums, we really want the transients to cut through the mix, and a slow attack time will allow this to happen. This allows the initial attack of the drums to pass through the compressor before the compression kicks in. If your attack time is set too quickly you risk burying the drums in the mix.
Fast or medium-fast release time – You want your compressor to release quickly so that the compression is open and ready for the next transient that passes through the effect. Having your release time set too long will keep the compressor from fully opening back up again before the next transient passes through and can negatively impact the punch of each successive drum.
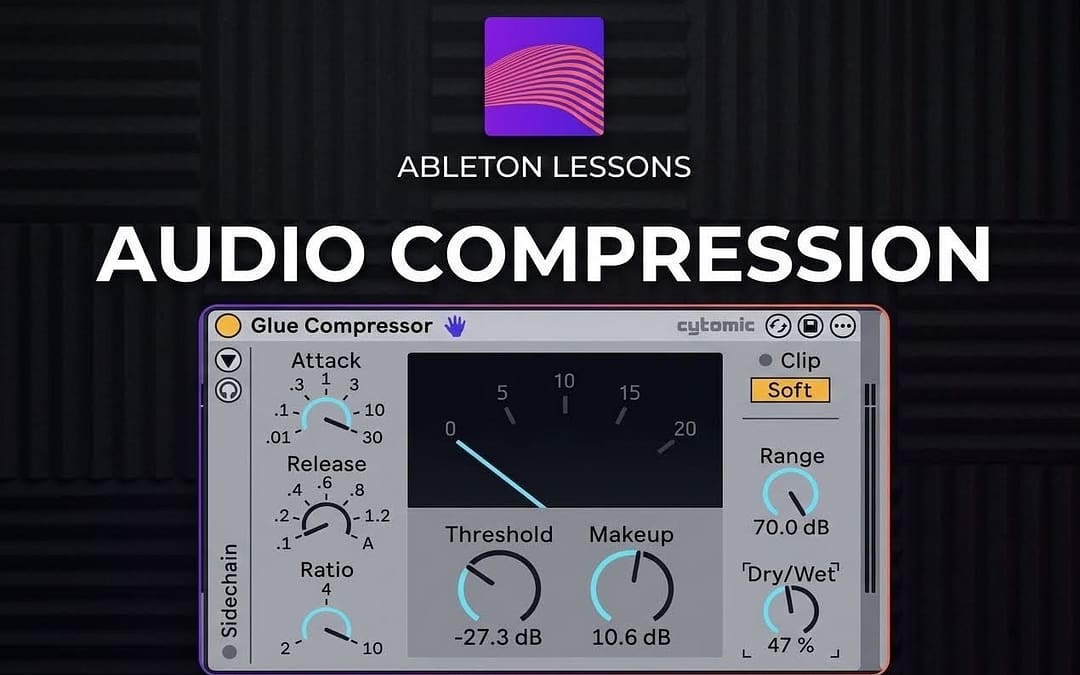
Dial in threshold to taste – I typically recommend using a ratio of 2:1 or 4:1, unless I’m applying a technique called parallel or New York style compression. When using parallel compression, you typically want to dial in some relatively heavy compression (I aim for something like -10db or -20db of gain reduction) with a 10:1 ratio, then increase the makeup gain so to roughly the same amount of gain reduction you’re getting and dial in the dry/wet of the signal to roughly 50/50. This allows you to combine the heavily compressed signal with the original dry signal, resulting in a signal that is punchier and more full. I tend to like to use Ableton’s Glue Compressor for this technique.

Sidechain Compression
Usually the signal that triggers compression is the same as the input source, but you can actually use a different audio source to trigger compression on the audible signal. This is what’s known as “sidechain compression.”
The point of sidechain compression is to decrease the level of whatever track you’ve added the compressor to in order to make room in the mix for whatever track you’re using as the signal that is triggering the compressor.
This is most commonly used on kick and bass tracks, where the compressor is added to the bass track and the sidechain input is set to the kick. The result is that the bass levels are reduced every time the kick happens, which allows the kick and bass/sub to exist in the same frequency range without overlap.

On the Ableton Compressor, the way you access the sidechain parameters is by clicking the little arrow at the top left of the device, next to the power button. Under the Audio From section, you can click the first dropdown menu and select whatever channel you’d like to use to trigger compression. In the kick/bass example from above, this would be the kick channel.
Then you simply dial in the settings to taste. This is highly subjective and dependent on personal preference and the type of music that you’re writing. When I sidechain, I make sure to pull the attack all the way down, turn the ratio up to inf:1, adjust the threshold level until I’m getting a decent amount of ducking on my bass channel, then dialing in the release time to somewhere between 30ms and 60ms, depending on the length of my kick. The goal is a smooth transition where the kick briefly makes space in the mix before the bass returns.
Final Thoughts
When done correctly, compression can add a degree of life, control, and tone to dull or distorted mixes. It allows us to keep volume levels consistent, add punch and impact, and reduce or expand dynamics.
This guide is a great start to understanding when and how to use compression, but make sure you practice and listen closely when compressing signals to learn what sort of an effect each parameter has on the sound, and soon you’ll be creating full-sounding mixes!