
Mastering FabFilter Pro-Q 3: An In-Depth Tutorial
FabFilter Pro-Q 3 stands tall among digital equalizers, offering a robust set of features and an intuitive interface for precise audio sculpting. As a music producer or sound engineer, understanding the depth and capabilities of Pro-Q 3 can significantly enhance your ability to shape and refine audio. In this extensive tutorial, we'll explore Pro-Q 3's functionalities, techniques for effective equalization, and advanced tips to harness its full potential.
Getting Acquainted with FabFilter Pro-Q 3

Interface Overview
Pro-Q 3 boasts a sleek and user-friendly interface designed for efficiency and ease of use. Here's a breakdown of its primary elements:

Dynamic EQ Option
Frequency Spectrum Display: Offers a visual representation of the audio spectrum, displaying the input signal and any adjustments made.
EQ Bands: Each band can be adjusted independently and offers various filter types, gain, frequency, and bandwidth controls.
Dynamic EQ and Side Chain: Dynamic EQ allows you to set frequency-specific thresholds to control the EQ based on the input signal's amplitude. The Side Chain feature enables the EQ to respond to external sources, facilitating dynamic and responsive equalization.
Full-Screen Mode and Spectrum Grab: Pro-Q 3's resizable interface and Spectrum Grab feature provide detailed analysis and manipulation of specific frequency ranges.

Spectrum Grab
Understanding Pro-Q 3's Features
Filter Types and Bands

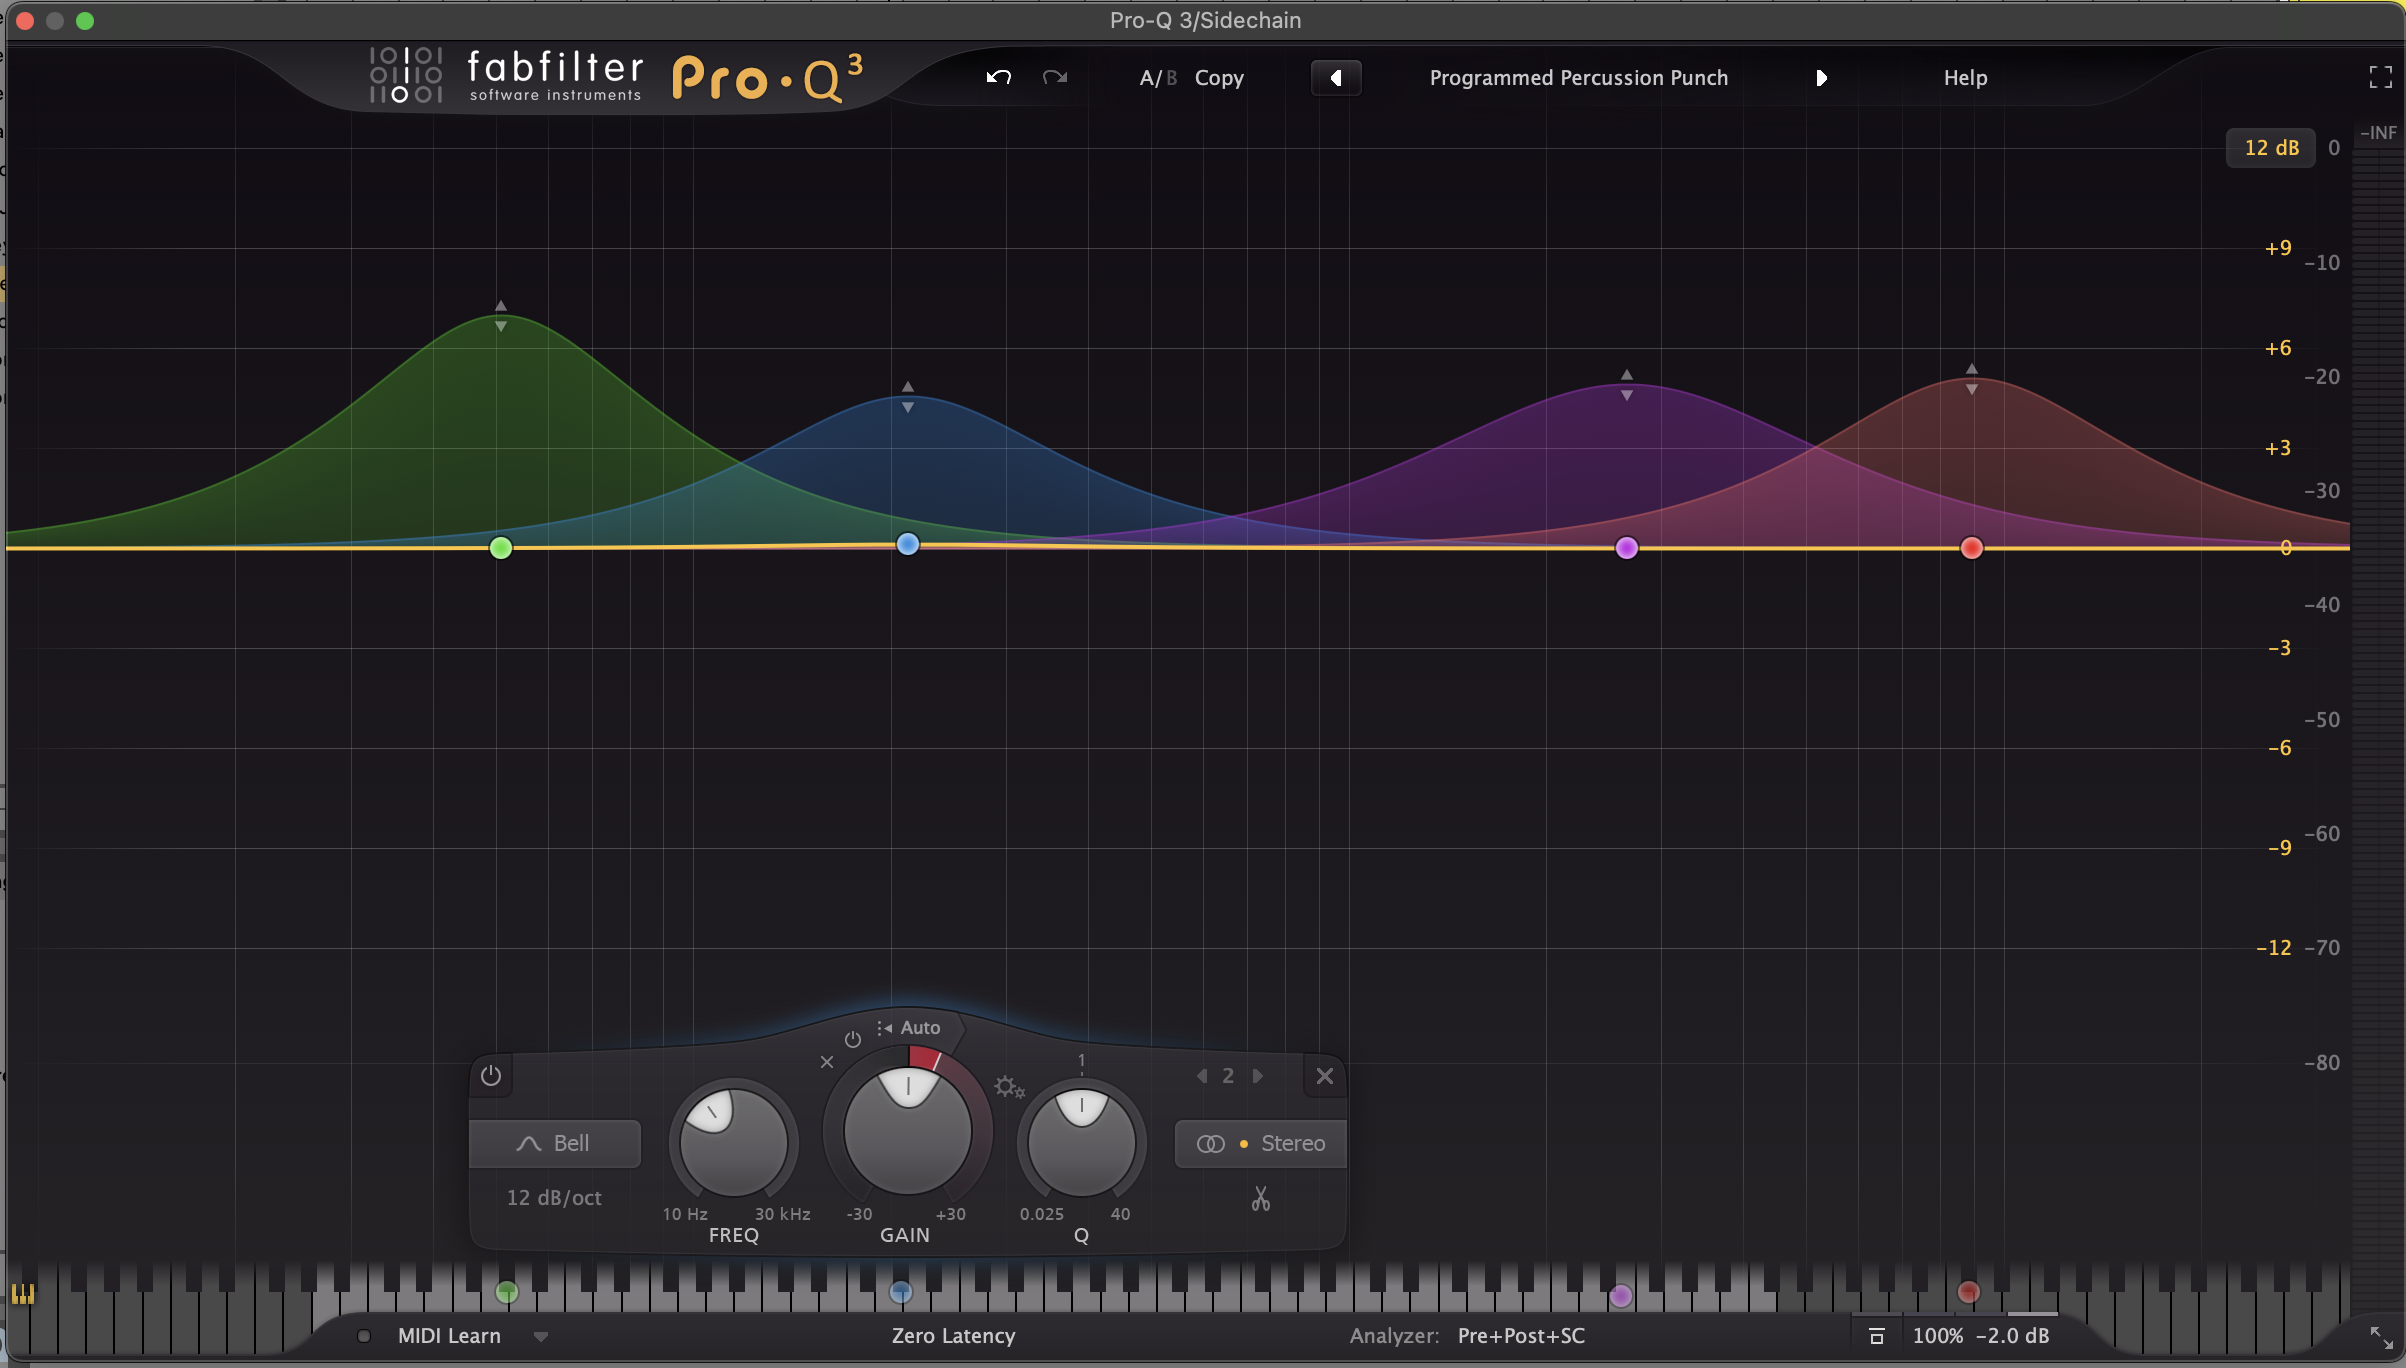
Bell Curves on Pro-Q 3
Pro-Q 3 offers an array of filter types such as Bell, High/Low Shelf, High/Low Cut, Band Pass, Tilt Shelf, and more. Each filter type caters to specific EQ adjustments, allowing you to shape audio with precision.
Dynamic EQ and EQ Match
Dynamic EQ introduces a dynamic dimension to traditional EQ by allowing the user to apply EQ changes only when specific frequency ranges exceed a defined threshold. EQ Match analyzes a reference track and suggests EQ adjustments to match the tonal balance of that reference.
Spectrum Grab and Analyzer
The Spectrum Grab feature enables you to click and drag in the spectrum analyzer to isolate and adjust specific frequency ranges. The real-time spectrum analyzer provides a visual representation of the audio signal, aiding in precise adjustments.
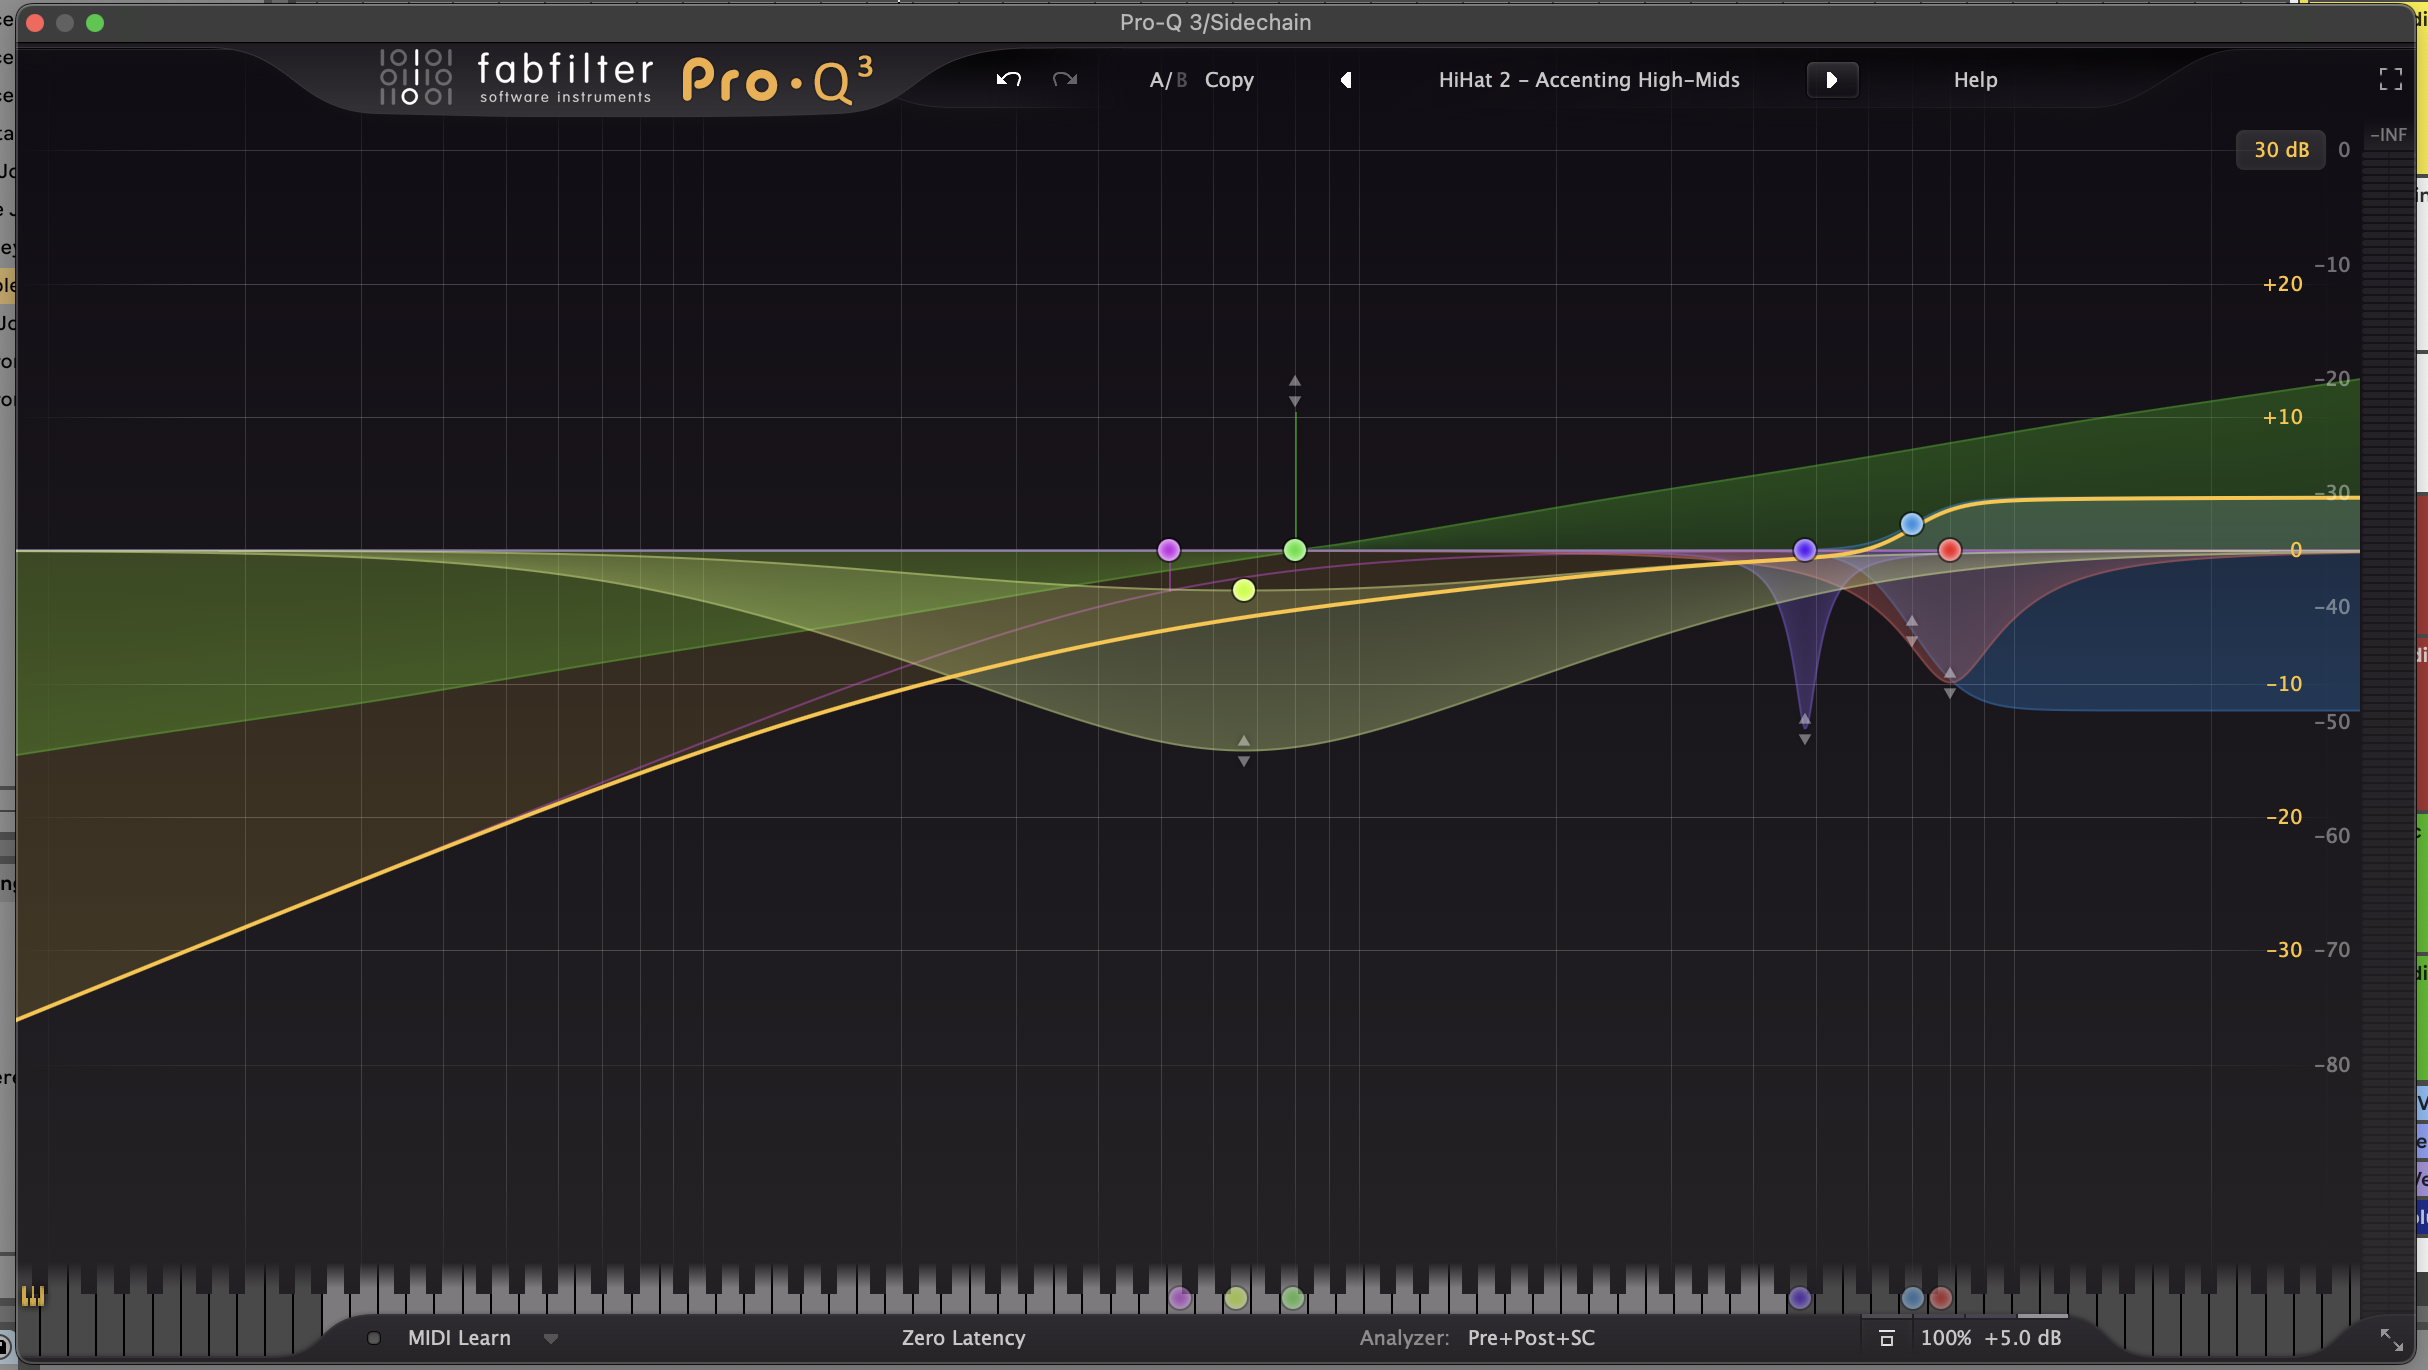
Mid/Side Processing and External Spectrum Visualization

Stereo Placement of Band for Mid/Side Processing Options
Pro-Q 3 offers Mid/Side processing, allowing separate EQ adjustments for the mid and side channels of a stereo signal. Additionally, it can display an external spectrum analyzer to compare and match the EQ curve of another track or reference material.
Practical Applications and Techniques
Subtractive EQ
Subtractive EQ involves identifying and reducing unwanted frequencies to clean up a sound. Use high-pass and low-pass filters to remove unnecessary low-end rumble or harsh high frequencies, providing clarity and balance to your mix.
Boosting and Notching
Boosts
Boosting specific frequencies can highlight elements within a mix, making instruments or vocals stand out. Notching involves cutting narrow bands of frequencies to address problematic resonances or frequencies that clash with other elements in the mix.

Dynamic EQ for Control
Dynamic EQ can tame harsh peaks or dynamically boost certain frequencies only when needed, ensuring a smoother and more controlled tonal balance without affecting the entire signal.
Mid/Side Processing for Stereo Enhancement
Use Mid/Side processing to adjust the center (mid) and the stereo width (side) separately. This technique allows for targeted enhancements or corrections in the stereo image, granting more control over the mix's spatial characteristics.
Creating EQ Curves for Different Instruments
Tailor EQ curves for various instruments to carve out space in the mix. For instance, shaping the frequency spectrum of a kick drum or bass to complement each other while leaving room for other elements like vocals or synths.
Advanced Tips and Workflow Enhancements
Keyboard Shortcuts and Customization
Familiarize yourself with Pro-Q 3's keyboard shortcuts to expedite your workflow. Customizing the interface and using the A/B comparison feature can facilitate quick comparisons between different EQ settings.
Mid/Side and Dynamic EQ Combinations
Experiment with combining Mid/Side processing and Dynamic EQ to sculpt complex and dynamic tonal changes in specific areas of the stereo field.
Automation and Parameter Modulation
Utilize automation to introduce dynamic EQ changes over time, allowing certain frequencies to breathe and evolve throughout the track. Parameter modulation adds movement and interest by automating EQ parameters gradually.
Conclusion
FabFilter Pro-Q 3 is a versatile and powerful tool that empowers music producers and engineers to craft precise and refined audio. Mastering its functionalities—from basic EQ adjustments to advanced techniques like Dynamic EQ and Mid/Side processing—opens doors to endless creative possibilities in shaping sounds and perfecting mixes.
Practice and experimentation are key to unlocking the full potential of Pro-Q 3. As you delve deeper into its features and apply these techniques across various musical contexts, you'll refine your skills and develop a keen understanding of how to leverage Pro-Q 3 to achieve professional-grade audio productions. Embrace this journey of exploration and discovery, letting FabFilter Pro-Q 3 be your trusted ally in sculpting sonic landscapes that captivate and resonate with your audience.